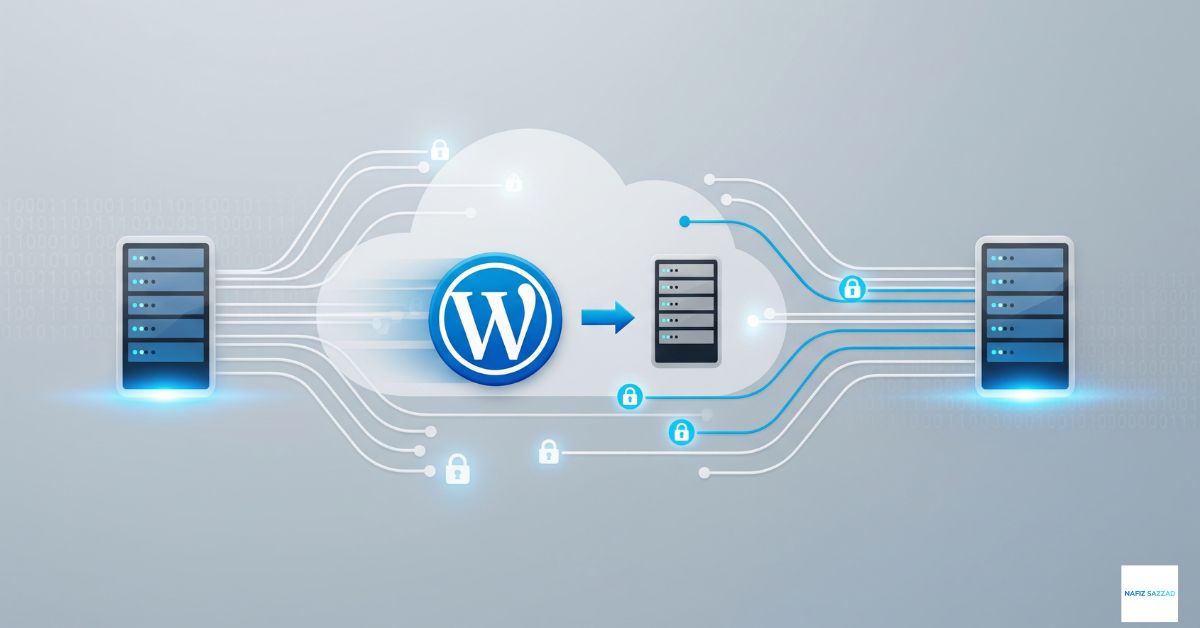

Migrating a WordPress site, whether it’s switching hosts, moving domains, or upgrading servers, usually comes down to business needs like better performance, tighter security, scaling up, or rebranding. Sounds simple enough, but get it wrong and you might end up with downtime, broken links, tanked SEO rankings, and annoyed users
This guide covers every step you need for a smooth migration from planning to post-launch checks, whether you do it yourself or hire someone who knows their stuff well. Start by understanding the process, even if you decide bringing in a pro makes more sense.
If you’re staring down a migration, don’t gamble with your site. My service handles transfers cleanly every time
Phase 1: getting ready before you move anything
The real work starts way before files get shifted; it’s all about prepping, right?
Know why you’re migrating
- Changing hosts for speed, security, and support
- Moving domains
- Shifting to subdomains or subdirectories
- Upgrading servers like VPS or dedicated
- Merging sites
Pick your new host carefully
- Speed matters; check Core Web Vitals
- Look at the scalability support specs, server locations
Backup everything, no exceptions
- Use plugins like UpdraftPlus and Duplicator in easy mode
- Or go manual with FTP, PhpMyAdmin
- Test that backup works; don’t skip this
Clean house before moving
- Dump unused theme plugins
- Optimize the database by compressing images
- Clear out spam comments and old post revisions
Audit your site inside out
- Crawl for broken links. Screaming Frog helps
- Note down the Google Search Console setup sitemap spot
- Check Google Analytics data
Phase 2: moving things; pick your method
Different ways to migrate each have tradeoffs
Method 1 plugins are easiest for most people
- Duplicator All-In-One WP Migration works well; free versions have size limits
- The steps to export, import, and update URLs are pretty straightforward
Method 2: manual moves for big, complex sites
- Export DB via PhpMyAdmin, and grab files via FTP. Upload to new host, import the DB, tweak wp-config.php, and update URLs
Method 3: Let the host handle it
- Some hosts offer free migrations; pros and cons vary
Phase 3: After the move, check everything twice
Make sure nothing breaks and SEO stays intact
Update DNS watch propagation times
- Tools like WhatsMyDNS help track it
Test every part of the site
- Pages, posts, forms, logins, and shopping carts if you’re selling stuff
- Links, images, and media load right? No broken stuff
SEO stuff you can’t skip
- Update internal links. If URLs changed, resubmit the sitemap in Search Console, set up 301 redirects for old URLs, and fix mixed content errors. SSL must work everywhere. HTTPS only, no exceptions. Run another broken link check
Performance checks
- post-move speed test with PageSpeed Insights and GTmetrix, keep Core Web Vitals from dropping, and tweak caching on the new server
Once everything works, trash the old site, but only after DNS fully updates
Don’t forget third-party integrations
- Update Google Analytics email tools and payment gateways APIs
Common problems and how pros fix them
- white screen database errors, redirect loops, slow speeds, permalink issues, mixed content warnings
Why hire someone? Migrations get messy fast, especially if downtime costs money
- Pros handle zero downtime. Keep SEO safe, secure your data, optimize speed, troubleshoot surprises save you time
- Don’t risk going DIY; pay once for peace of mind
What my service includes
- audits planning zero downtime moves data integrity checks post-migration SEO fixes support